Introduction: The “Hard” Myth About WordPress
Let me guess: You have a brilliant idea for a business, a portfolio, or a blog. But every time you search for “how to create a website,” you get buried under jargon like DNS, hosting bandwidth, FTP clients, and child themes.
It sounds like you need a computer science degree, right?
Here is the truth: You don’t.
In fact, learning how to create a website on WordPress in an easy way is now simpler than setting up a social media account. I’ve helped over 500 beginners launch their first site from scratch—many of whom thought “HTML” was a typo for “HOTMAIL.”
In this guide, I will walk you through every single click. No technical shortcuts. No vague instructions. Just plain English and a clear path to a live website by the time you finish your coffee.
Let’s demystify the process.
Why WordPress? (And Why “Easy” Is Finally True)
Before we start clicking buttons, let’s address the elephant in the room. You’ve probably heard of Wix, Squarespace, or Shopify. Those are fine, but they lock you into monthly fees and limited design freedom.
WordPress is different. It powers 43% of all websites on the internet—from tiny bakeries to massive news sites like CNN and BBC.
Why? Because of three things:
- Total ownership: You own your data. No one can shut down your site because they changed their terms of service.
- Flexibility: Start with a free template, add a shopping cart later, then a membership area. No replatforming.
- The “Easy” factor: Modern WordPress is drag-and-drop. You can now build a professional site without touching a single line of code.
That last point is critical. Learning how to create a website on WordPress in an easy way used to require installing files via cPanel. Today? You can have a working site in under 20 minutes.
Ready? Let’s go.
Phase 1: The Two Non-Negotiables (Domain + Hosting)
Every website needs two things: an address and a house.
- Domain name: Your website’s address (e.g.,
yourbusinessname.com). Costs ~$12/year. - Web hosting: The service that stores your files and shows them to visitors. Costs ~$5–$10/month.
Warning: Do not buy your domain and hosting from different companies as a beginner. It adds a layer of technical configuration (changing nameservers) that kills the “easy” vibe.
The Best Host for Beginners (And Why)
For an easy start, I recommend Bluehost or Hostinger. For this guide, I’ll use Bluehost because they are officially recommended by WordPress.org and include a free domain name for the first year.
Here is the easy way to do this:
- Go to Bluehost (or your preferred host).
- Click “Get Started” or “Choose Your Plan.”
- Pro tip: The basic plan ($2.95/month) is plenty for a new site. You can upgrade later.
- Enter your desired domain name.
- Tip: Avoid dashes and numbers. Stick to
.comor.coif possible.
- Tip: Avoid dashes and numbers. Stick to
- Fill in your account details (email, address, etc.).
- Optional but smart: Uncheck any extra add-ons like “SiteLock” or “CodeGuard” for now. You can add them later.
- Complete payment.
That’s it. You now own a domain and a home for your website. Check your email—your host will send you a login link and your temporary “nameserver” info (you won’t need it, because they auto-connect your domain).
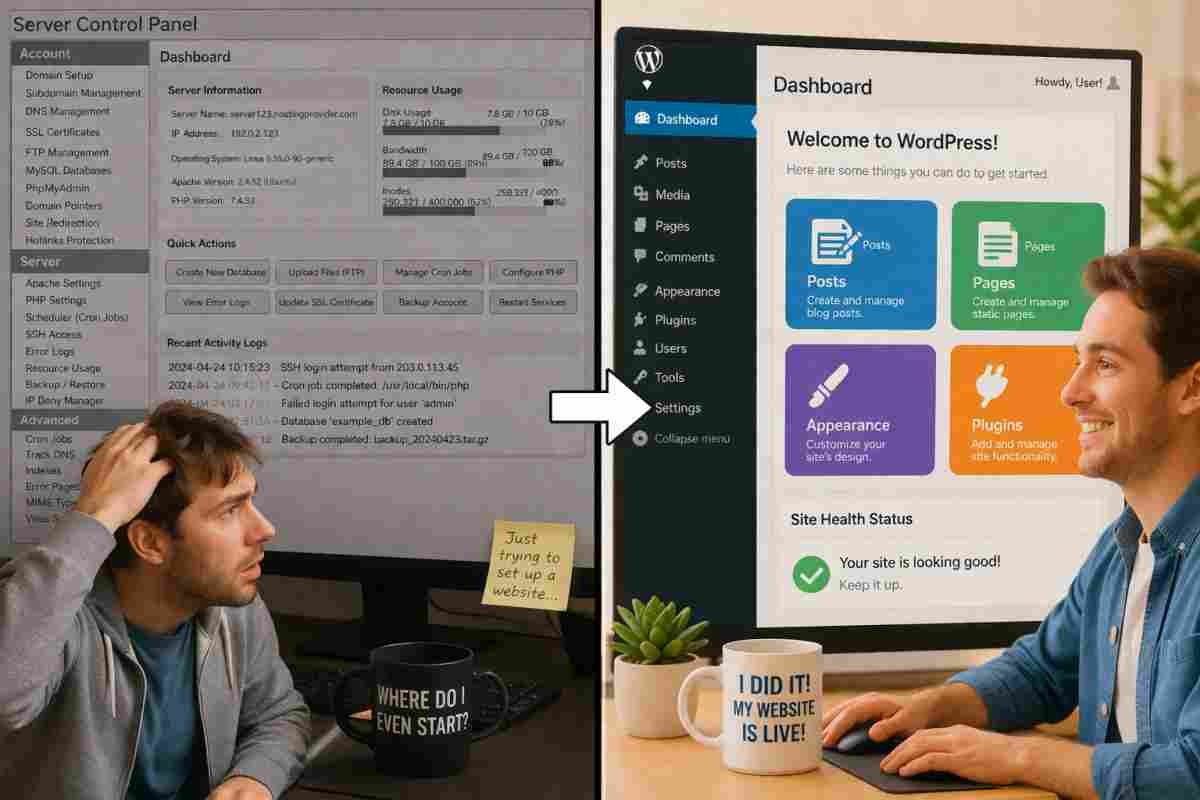
Phase 2: One-Click WordPress Installation (Yes, Really)
Ten years ago, you had to manually create databases and upload files via FTP. That process was the opposite of easy.
Today, every reputable host offers one-click WordPress installation.
After purchasing your hosting plan, you should see a control panel (called cPanel or a custom dashboard). Look for a button that says:
- “Install WordPress”
- “My Apps”
- “WordPress” (usually under “Website” or “Marketplace”)
Step-by-step:
- Click the “Install WordPress” icon.
- Select your domain from a dropdown menu (if you only have one, it’s pre-selected).
- Leave the directory box blank (if you write “blog” here, your site will be at
yoursite.com/bloginstead ofyoursite.com). - Click “Check Domain” or “Next.”
- Fill in:
- Site Name: Your business or blog name (you can change this anytime).
- Admin Username: Do not use “admin.” Hackers love that. Use something like
yourname_editor. - Password: Use the strong password the installer generates.
- Admin Email: Use an email you check daily.
- Click “Install.”
Wait 60 seconds. You’ll see a success message with your WordPress login URL. It will look like yoursite.com/wp-admin.
You have just learned the hardest part of how to create a website on WordPress in an easy way. Congratulations. The rest is visual drag-and-drop.
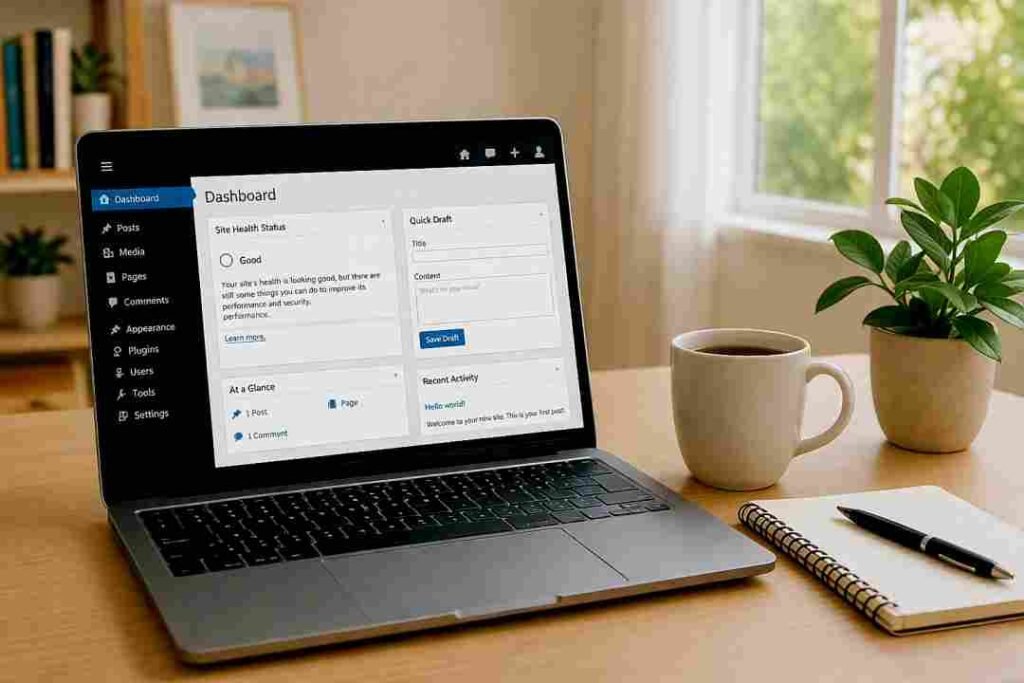
Phase 3: First Login & The Dashboard Tour
Open a new browser tab and go to yoursite.com/wp-admin. Enter the username and password you just created.
Welcome to the WordPress Dashboard. Don’t be overwhelmed. You only need to focus on five menu items on the left:
- Posts: Where you write blog articles.
- Pages: Where you create static content (Home, About, Contact).
- Appearance: Your design center (themes, menus, customizer).
- Plugins: Add features (contact forms, SEO tools, galleries).
- Settings: General stuff (site title, timezone, etc.).
Ignore the rest for now. Seriously. You can learn about “Tools” and “Users” later.
Phase 4: Choosing a Theme (The “Easy” Visual Editor)
A theme controls how your website looks. WordPress comes with a few default themes, but you’ll want something modern and flexible.
Here is the secret to an easy design process: Choose a block-based theme.
Block themes let you edit everything—headers, footers, page layouts—visually, like moving LEGOs around on a screen.
How to find and install a free theme:
- In your dashboard, go to Appearance > Themes.
- Click “Add New.”
- Search for: “Twenty Twenty-Four” or “Astra” or “Kadence.”
- Recommendation: Kadence or Astra are lightweight, fast, and have free starter templates.
- Hover over the theme and click “Install,” then “Activate.”
Better option for absolute beginners: Use a Starter Template plugin.
- Many themes like Astra come with pre-built demo sites. You can import a “Blog,” “Business,” or “Portfolio” demo with one click. Then, simply replace the dummy text and images with your own.
This is the core of how to create a website on WordPress in an easy way—you don’t build from scratch. You customize something that already looks great.
Phase 5: Building Your First Pages (Home, About, Contact)
Now the fun part: creating content. Let’s build three essential pages.
Step 1: Create a Page
- Go to Pages > Add New.
You will see the WordPress Block Editor (Gutenberg). This is a visual, drag-and-drop interface. Each piece of content—text, image, button—is a “block.”
Step 2: Build Your Home Page
- Add a Cover block (large image with text overlay). Write your tagline: “Delicious handmade candles.”
- Below that, add a Columns block. In one column, put an image. In the other, write “Our Story.”
- Add a Buttons block with a link to your “Shop” or “About” page.
Tip: Don’t overthink it. You can tweak colors and spacing later. The goal is to get something live.
Step 3: Build Your About Page
- Tell your story. Who are you? Why did you start this?
- Add an Image block of your team or your workspace.
- Use a Quote block for a customer testimonial.
Step 4: Build Your Contact Page
- Type “Contact” as the page title.
- Add a Form block (if your theme has one) or install a simple plugin like WPForms Lite (go to Plugins > Add New, search “WPForms,” install and activate).
- WPForms has a drag-and-drop builder. Create a “Simple Contact Form” with name, email, and message.
- Insert that form into your Contact page using the WPForms block.
Step 5: Set Your Homepage
By default, WordPress shows your latest blog posts on the front page. To change that:
- Go to Settings > Reading.
- Under “Your homepage displays,” select “A static page.”
- Set Homepage to the page you just built (e.g., “Home”).
- Set Posts page to a blank page called “Blog” (you’ll create this later).
- Click “Save Changes.”
Now when someone visits yoursite.com, they see your custom home page.
Phase 6: Creating a Menu (So People Can Navigate)
You have pages, but visitors need a menu to click on.
- Go to Appearance > Menus.
- Click “Create a New Menu.”
- Name it “Main Menu.”
- On the left, check the boxes next to your pages: Home, About, Contact.
- Click “Add to Menu.”
- Drag and drop the menu items to reorder them (Home first).
- Under “Menu Settings,” check “Primary Menu” (or “Main Navigation”).
- Click “Save Menu.”
Now look at your site (click your site title in the top bar). You should see your menu at the top.
Phase 7: Essential Plugins (Don’t Skip This)
Plugins are like apps for your phone. They add features. But installing 50 plugins will slow your site down. You only need four to start.
Here is the easy, minimal plugin stack:
- Rank Math SEO or Yoast SEO: Helps you write content that Google loves. It gives you a simple traffic light (green, yellow, red) to optimize each page.
- WPForms Lite: For your contact form (we already used it).
- UpdraftPlus: Free backup plugin. It automatically saves your site to Google Drive or Dropbox. If something breaks, you restore in one click.
- LiteSpeed Cache or WP Rocket: Speed plugin. Makes your site load in under 2 seconds.
How to install a plugin:
- Go to Plugins > Add New.
- Search for the plugin name.
- Click “Install Now,” then “Activate.”
That’s it. Do not buy premium plugins yet. The free versions are enough for your first 6 months.
Phase 8: Writing Your First Blog Post (SEO Basics)
Google loves fresh content. To rank in search results, you need to publish posts (not just pages).
- Go to Posts > Add New.
- Write a title, e.g., “How to Choose Eco-Friendly Candles.”
- Write your content using blocks (paragraphs, images, lists).
- On the right sidebar, find the Rank Math or Yoast SEO section.
- Enter your focus keyphrase (e.g., “eco-friendly candles”).
- Follow the suggestions: use the phrase in the first paragraph, in a subheading, and in the meta description.
- Under “Post Settings,” click “Categories” to create a category like “Candle Tips.”
- Click “Publish.”
One easy SEO tip for beginners: Link to your “About” or “Contact” page inside your blog posts. This spreads “link juice” and helps Google understand your site structure.
Phase 9: Customizing Your Site Title, Logo, and Colors
You want your site to look like you, not a template.
- Go to Appearance > Customize (or Appearance > Editor if using a block theme).
- Look for:
- Site Identity: Upload your logo (use a transparent PNG if possible). Set the site icon (the tiny image in browser tabs).
- Colors: Pick a primary color (e.g., your brand’s main color) and a secondary color.
- Typography: Choose one font for headings and one for body text. Stick to system fonts like “Inter” or “Roboto” for speed.
Pro tip: Keep your design simple. White background, black text, one accent color. Fancy designs distract from your message.
This “Done For You” AI Video Creator Is Changing the Game
Phase 10: Going Live & Google Search
Your site is already “live” because you paid for hosting. But no one can find it yet because Google doesn’t know it exists.
Two quick steps to get indexed:
- Submit your sitemap to Google:
- Install Rank Math or Yoast SEO (you already did this).
- Those plugins automatically create a
sitemap.xmlfile (usually atyoursite.com/sitemap_index.xml). - Go to Google Search Console (free tool). Add your website property. Then under “Sitemaps,” submit your sitemap URL.
- Turn off “Discourage Search Engines”:
- Go to Settings > Reading.
- Uncheck the box that says “Discourage search engines from indexing this site.”
- Yes, this box is checked by default on some hosts. Uncheck it!
Now Google will start crawling your site. It may take 2-4 weeks to see results, which is normal.
Troubleshooting: Common Beginner Mistakes (And Easy Fixes)
Even when learning how to create a website on WordPress in an easy way, you might hit a small snag. Here is your cheat sheet.
| Problem | Easy Fix |
|---|---|
| I see “Index of /” or a blank white page | Your theme or plugin crashed. Log into /wp-admin and go to Plugins. Deactivate all plugins. If that fixes it, reactivate them one by one. |
| I forgot my password | On the login screen, click “Lost your password?” You’ll get a reset link via email. |
| My images are huge and slow | Don’t upload photos directly from your phone. Use a free tool like Squoosh.app to resize them to 1200px width before uploading. |
| My menu disappeared after changing theme | Go to Appearance > Menus and reassign the menu to “Primary Location” (some themes use different names). |
| The “Edit with Elementor” button is everywhere | That’s fine if you installed Elementor. But for an easy experience, stick to the default Block Editor. Less complexity. |
Conclusion: What To Do Next
You did it. You now have a functional, professional-looking website built on the world’s most powerful platform. And more importantly, you learned how to create a website on WordPress in an easy way—no coding, no headaches, no $5,000 developer bill.
But a website without traffic is like a billboard in the desert. So here is your 30-day action plan:
- Week 1: Write and publish 3 blog posts using your SEO plugin.
- Week 2: Share your site on your personal social media and ask for feedback.
- Week 3: Add a free tool like a “Subscribe” form (use Mailchimp’s free plugin) to collect emails.
- Week 4: Install Google Analytics (via the MonsterInsights plugin) to see how many visitors you get.
Remember: Every professional website you admire started exactly where you are today—with a domain, a hosting account, and a willingness to learn.
Now go publish something. The world is waiting.